Neutral Density Filters and Graduated ND Filters
Neutral Density Filters, or ND filters, may not initially seem very interesting to amateur photographers because all they do is reduce light, but they can be an important tool for professionals. For amateur photographers, understanding light can be a bit of a challenge. What amateurs don’t realize is that it’s all about control of light and sometimes you want more and sometimes less.
They are referred to as neutral because they don’t affect the color of light passing through the filter. You can think of them as sunglasses for your camera. Just as you would use sunglasses to reduce the light to your eyes, photographers use ND filters to reduce the light to the sensor (film).
Understanding light becomes easier when you get the hang of the shutter, aperture, f/stops, and how the photographic triangle works.
Reducing light
Ok, so you may be wondering why you should have a filter that reduces light when you’re already able to reduce with the camera itself. If all you were looking for is having the correct exposure, then yes the camera can take care of it for you in most cases, but Neutral Density Filters give you ability not only to have correct exposures but also to have the control over creative exposures.
Neutral Density filters give the photographer the ability to control light separate from using the Aperture or Shutter
When should I use Neutral Density Filters?
Slow shutter speeds and longer exposures
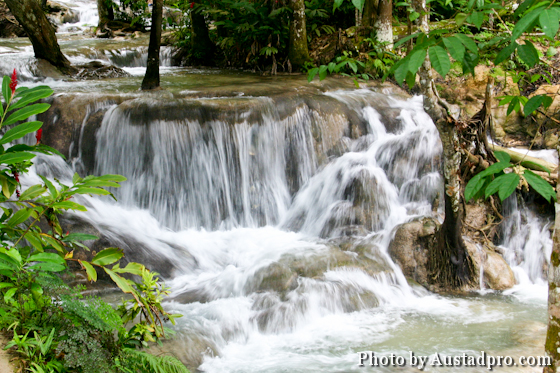
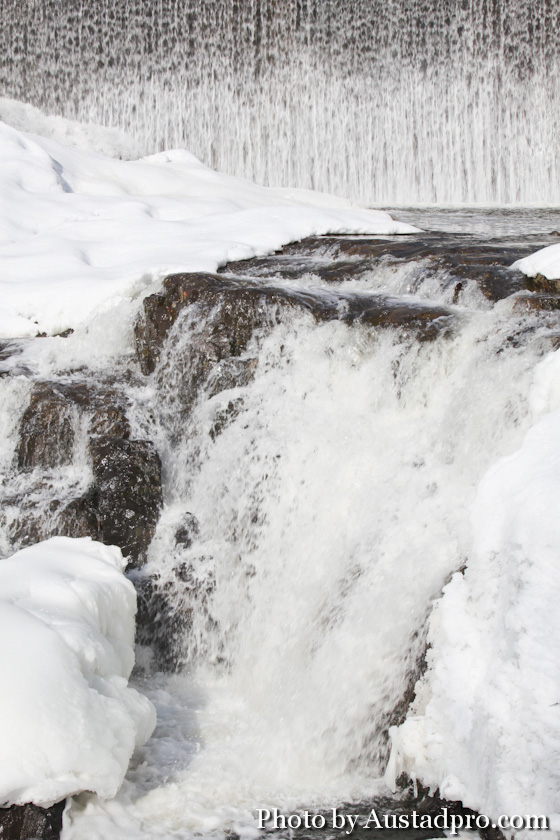
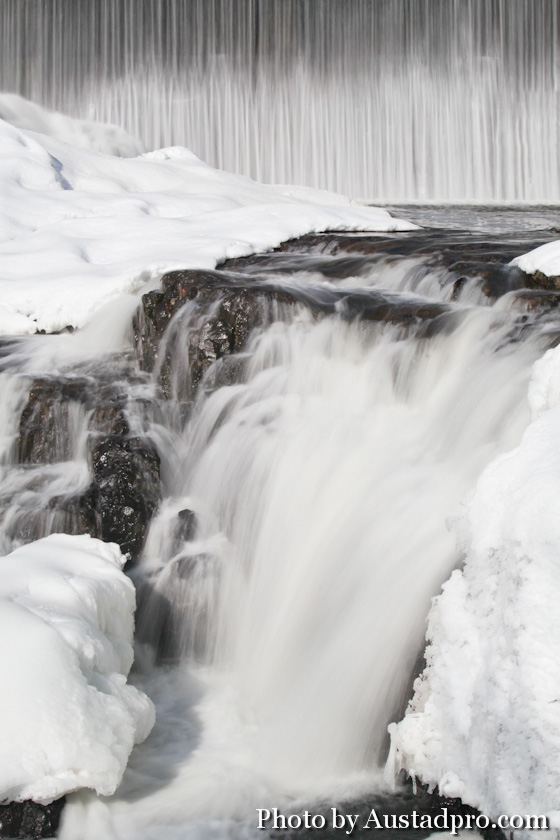
Probably the most common use for ND filters is for photographing waterfalls, rivers, and streams. In order to capture the look of smooth flowing milky water you need to have your shutter stay open long enough. This usually isn’t possible on sunny or even overcast days. Using a neutral density filter can decrease the amount of light by 1, 2, 3 or more stops allowing for a slow shutter speed. The two images below shows a waterfall taken at 1/125th (no filter) and at 1/4th a second (ND64 or ND 1.8).
I’ve decreased the amount of light passing through the lens by 6 stops. You can easily see the difference in how the water looks in the two photos.
Quick note: I didn’t actually use a ND64 filter, but instead I used a ND2, ND4, and ND8 filter combined. Together this gives me the same effect as a ND64 filter. The chart below shows the strength of the most common ND filters. Notice that if you combine the filter Optical Density of those 3 filters (0.3, 0.6, 0.9) that you get 1.8 which is the same as the ND64. This saves you from having to buy additional filters. You can buy stronger ones, but there use may be limited for the average photographer.
| Filter number | Filter Optical Density | F/Stop Reduction | % Transmittance |
| ND2 | 0.3 | 1 | 50% |
| ND4 | 0.6 | 2 | 25% |
| ND8 | 0.9 | 3 | 12.5% |
| ND16 | 1.2 | 4 | 6.25% |
| ND32 | 1.5 | 5 | 3.125% |
| ND64 | 1.8 | 6 | 1.563% |
Wide Apertures and shallower depth-of-fields
Just as neutral density filters allow you to slow your shutter down it also gives you the ability to open your aperture wider and get a shallower depth-of-field. Maybe you want to take a portrait shot on a bright sunny day and are limited by the maximum shutter speed you can use. You want to shoot at an aperture of f/2.8, but your aperture can only open to f/11 without overexposing the shot. In this case you would need to reduce the light by 4 stops. By using a ND16 or ND 1.2 filter (or combining the 0.9 and 0.3 that equals 1.2) you can get the effect you want.
Making people vanish, without magic
How many times have you taken a photo of a famous landmark and hated the fact that people were also in your shot. This was always a pain for me and drove me nuts. ND filters to the rescue!
Without a Neutral Density filter, you may only be able to open your shutter to ½ a second which leaves a blurry ghostly figure moving through your shot. With the ND filter and a longer shutter speed that person now vanishes from the shot totally! Provided they’re not just standing around. They need to be moving through the image for this to work, but still, it’s pretty cool!
Additional uses for Neutral Density Filters
Let’s say you’re shooting a wedding with a film camera. You start indoors (low light) with a fast film, and then you move outside where it’s too bright for the film you have even after changing the shutter speed and aperture. Instead of wasting the rest of the film you can use a Neutral Density Filter to reduce the brightness of the scene. I know, I know, you probably don’t use film anymore.
When you use a flash your shutter speed will usually max out at 1/250th a second. If the subject is too bright (and you can’t reduce the flash output) you’ll have to stop down the aperture to f/8 or higher. This limits your ability to get a shallow depth of field. Using a neutral density filter can give you that creative exposure you need when using a flash.
You may also want to use a ND filter if your camera is fully automatic since it can provide you with some additional versatility that you didn’t have before. Get a Neutral Density Filter now so you too can control light and improve on your photography.
Graduated Neutral Density Filters (or ‘Grads’ for short)
Graduated ND filters are the same idea, but instead they are a mix of ND on one end and clear on the other with a gradual transition between the two.
Usually the luminance level of a mid-day sky is about two stops brighter than the foreground beneath it. If you were to properly expose for the foreground your sky would be overexposed by 2 stops. If you expose for the sky, your foreground would be 2 stops underexposed. Because of this your exposure is out of balance.
If you take a ND4 (ND 0.6) Graduated filter and align the ND with the sky, the foreground will then be covered by the clear half leaving it unaffected. Now your exposure is balanced over the entire scene.
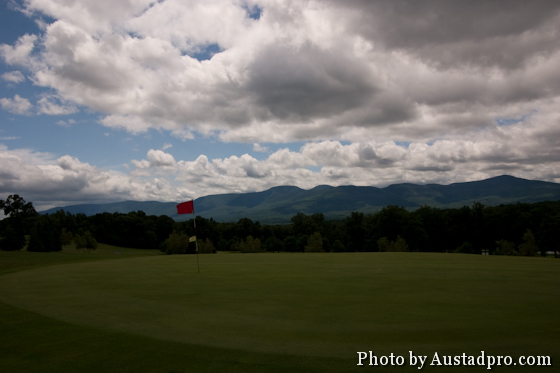
Here you can see how a Graduated Neutral Density Filter can balance your exposure:
The transition area, or edge, is available in different variations (soft, hard, attenuator). The most common is a soft edge and provides a smooth transition from the ND side and the clear side. Hard edge grads have a sharp transition from ND to clear and the attenuator edge changes gradually over most of the filter so the transition is less noticeable. Here’s where you can find Graduated Neutral Density Filters.
Mounting Neutral Density Filters
You can get ND Filters that screw on to the front of lenses or slide into a mount attached to your camera. And if you’re in a pinch you can just hold it in front of the lens too. One advantage of using a mount is the ability you have to align the edge (or transition) of a ND Grad filter. This allows you to choose where you would like the horizon in your shot, especially if you have a hard edge.
TIP: If you get the type of filters you screw on buy for your largest diameter lens and buy step up rings. These cheap rings allow you to attach the filter to smaller diameter lenses. This option is much cheaper than buying multiple sets of filters. Neutral Density Filters are great when it comes to controlling light. Get a Neutral Density Filter now so you too can control light and improve on your photography.

